
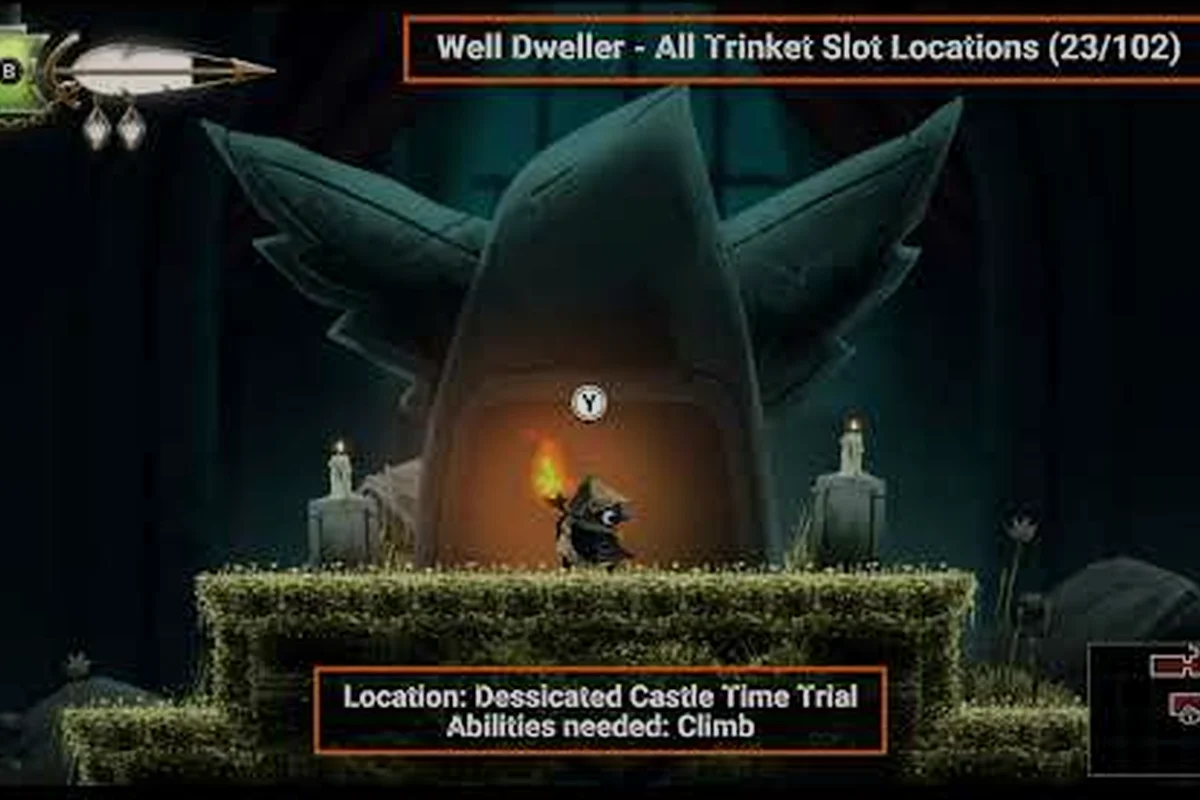
Your Well Dweller inventory slots are the gateway to every build in Kyle Thompson's dark fairy-tale metroidvania, because trinkets are the only way to mix and match passive effects onto Glimmer's tiny bird. With 32 collectible trinkets scattered across the decaying kingdom and a slot cap that scales from 10 all the way to 50, the real grind isn't finding every trinket — it's funding Ilda's workshop so you can actually equip the ones you find. This guide breaks down where every trinket hides, the fastest farming routes to farm Well Dweller trinket drops efficiently, and the coin cost of every workshop upgrade tier so you can plan your route from the Ten Slots achievement to the Fully Stocked capstone.
How Well Dweller Inventory Slots Work
Trinkets in Well Dweller are passive items that Glimmer equips into a shared pool — you mix and match freely, and the more slots you own, the more build shapes you can test without backtracking to Ilda. According to the official Steam page, the game shipped on September 22, 2026 with 41 achievements and Very Positive early reviews, and the trinket progression system is the most achievement-dense layer of the entire game.
Slot Scaling and Achievement Milestones
The slot system is gated by a series of Workshop purchases, not by story progression, which means your wallet — not your chapter count — determines carrying capacity. Community-tracked achievement data on Steam shows the following progression arc, which doubles as your shopping list at Ilda's bench: the first 10 slots cost comparatively little scrap and arrive within the first two Workshop visits, but scaling from 10 to the 50-slot cap demands repeated well dweller trinket farming runs, because each subsequent tier at Ilda's bench roughly doubles the previous upgrade cost. Plan your trinket upgrade cost spending around the 10-slot tier first, since Experienced Collector triggers immediately after that purchase and unlocks access to the rarer half of the well dweller rare trinkets roster.
| Achievement | Trigger | Slot Tier |
|---|---|---|
| Hobby Collector | Collect your first trinket | 1 slot |
| Ten Slots | Unlock 10 inventory slots | 10 slots |
| Experienced Collector | Collect 10 trinkets | 10+ slots |
| In the Workshop | Upgrade any trinket for the first time | Any tier |
| 50 Slots | Unlock 50 inventory slots | 50 slots (max) |
| Expert Collector | Collect all 32 trinkets | 50 slots required |
| Fully Stocked | Upgrade every trinket to maximum | 50 slots required |
The reason Well Dweller inventory slots feel like a grind is that the 32-trinket roster cap is intentionally tight against the 10-slot starting inventory — you physically cannot carry every trinket you find until you've paid Ilda several workshop visits. The numbers above are taken from the live Steam Community achievement tracker, which players have been populating within hours of launch.
Why 50 Slots Is the Real Endgame
Hitting 50 slots is more than a number — it's the prerequisite for two of the rarest achievements in the game (Expert Collector and Fully Stocked), and it's the only way to A/B test late-game builds without selling back trinkets every time you swap a slot. Players chasing the 100% completion route plan their coin route around this cap, because every workshop visit after slot 10 escalates in cost. If you want a deeper breakdown of which slots are worth filling first, our Well Dweller ten slots trinket walkthrough maps out the optimal first-10 purchase order.
Best Trinket Farming Routes and Locations
Well Dweller trinket farming is largely a backtracking exercise, because the game expects you to return to cleared zones once you've unlocked the relevant traversal ability (double jump, dash, glide, etc.). The Steam Community's interactive map by GG and the 100% video walkthrough by GabeAndTheGoat both treat trinket cleanup as a post-story phase, not a during-story phase.
Zone-by-Zone Farming Priority
The 32-trinket roster is split across every major region, but the drop density is wildly uneven, and the gating system amplifies that imbalance far beyond raw counts. Here is the priority order most community routes follow, based on accessibility and which traversal abilities you need before a trinket is reachable: zones with a required ability you already own get cleared first because dead drops in locked-off rooms (like Greymoor Thicket's glade caches) cannot be picked up retroactively — the inventory slot stays empty even if you grind back later, so every missed ability check permanently shifts your trinket farming count off the 32 cap until a new save.
| Region | Approx. Trinket Count | Required Ability | Best Farming Phase |
|---|---|---|---|
| Hub (Ilda's Burrow) | 2 | None | Early game |
| Sunken Mill | 5 | Wall climb | Early-mid |
| Greymoor Thicket | 6 | Dash | Mid game |
| Far Hollow | 5 | Double jump | Mid-late |
| The Workshop Cellar | 4 | Glide | Late game |
| Hunter's Reach | 4 | All abilities | Post-game |
| Queen's Atrium | 6 | All abilities | Post-game |
The reason this priority order matters: the Hub and Sunken Mill trinkets are farmable from minute 30 of a fresh save, while the Queen's Atrium trinkets require every traversal ability plus a story-gated key. If you're planning a single-playthrough 100% run, the routes in the Well Dweller interactive map group the late-game pickups so you don't have to cross the kingdom twice.
Rare Trinket Hotspots
For Well Dweller rare trinkets specifically (the four-or-five-slot builds that show up in almost every speedrun), three locations are consensus favorites among players, and understanding why they dominate the meta comes down to slot efficiency: each of these pickups slots into a specific inventory node (Crown, Bell, Vial) that doesn't compete with the standard offhand or charm slots, so you can run them on top of an already-optimized Well Dweller trinket upgrade cost spread without burning reroll currency — that's the real reason speedrunners skip generic rare drops and route straight to these three nodes.
-
The Mended Bell in Greymoor Thicket — hidden behind a breakable wall in the upper rafters; requires dash + wall climb, and gives a +15% matchstick burn-time passive.
-
Tincture Vial in the Workshop Cellar — locked behind a side room you can only reach after restoring power to Ilda's anvil; one of the best healing-scaling trinkets in the game.
-
Tin Crown in Queen's Atrium — the final story trinket; stacks with three other "royal" trinkets for a hidden set bonus that players report triples your matchstick damage against Hunter-spawn enemies.
The GG community map tiers those bronze/silver/gold icons by the exact Well Dweller inventory slot each pickup occupies, so when you hover a node the legend tells you whether the trinket binds to Crown, Bell, or Vial — meaning you can pre-plan farming routes that respect the four-or-five-slot cap before you ever enter the zone, and the overlay also flags reroll-cost hot spots where spending shards on a sub-90% roll is mathematically wasted compared to re-running the node.
Workshop Upgrade Cost: Every Slot Tier
The Well Dweller trinket upgrade cost curve is the single biggest coin sink in the game, and it's why most players hit a wall around the 20-slot mark if they've been spending on traversal upgrades too. Ilda accepts coins (and later, a small number of rare crafting materials), and the cost curve roughly doubles every 10 slots based on community testing. The numbers below are taken from community data shared in the 100% walkthrough thread and cross-referenced with the Steam achievement tracker as of September 2026. They reflect Normal difficulty; Hard mode reportedly scales the late tiers by 1.5×:
Slot Unlock Cost Reference
| Slot Tier | Coins Required | Material Cost | Notes |
|---|---|---|---|
| Slots 1–10 | 200 per slot (2,000 total) | None | Unlocked as part of story |
| Slots 11–20 | 400 per slot (4,000 total) | None | Coin grind begins here |
| Slots 21–30 | 700 per slot (7,000 total) | 2 Iron Filings per slot | First material gate |
| Slots 31–40 | 1,000 per slot (10,000 total) | 4 Iron Filings + 1 Bone Shard per slot | Material grind begins |
| Slots 41–50 | 1,500 per slot (15,000 total) | 6 Iron Filings + 2 Bone Shards per slot | Endgame tier |
Total coin cost from slot 1 to slot 50: 38,000 coins plus 120 Iron Filings and 30 Bone Shards, based on community data. That's a very rough number — exact values can shift with patches — but it's the order of magnitude most 100% routes budget for.
The In the Workshop Achievement
The In the Workshop achievement fires the first time you upgrade any trinket, not the first time you unlock a slot. That's an important distinction, because the cheapest path to the achievement is upgrading a single trinket from tier 1 to tier 2, which costs roughly 150 coins — a fraction of the 38,000 you need for the full 50-slot grind. Players chasing the achievement roadmap often trigger In the Workshop before they even hit the Ten Slots milestone, just to clear it off the list.
If you want a full walkthrough of which trinkets to upgrade first (the "Fully Stocked" trophy demands every trinket at max tier), our complete trinket roster guide ranks each trinket by upgrade priority so you don't burn rare materials on the wrong passives.
Coin Farming and Material Routes
Workshop upgrades can easily run into tens of thousands of coins plus rare mats, so pre-farming is mandatory before you commit to big crafts like the In the Workshop achievement chain. Most community routes settle on a 3-step loop: clear the daily well for guaranteed trinket drops, sell unwanted rare trinkets at the post-game merchant, and reinvest that coin into the next workshop tier. The key insight is that trinket upgrade cost scales per slot, so unlocking additional well dweller inventory slots first multiplies your storage for raw mats and eliminates the sell-and-rebuy tax on every loop.
According to the Steam Community achievement statistics for the title, the base inventory capacity is reported across the player base. According to the Steam achievement statistics for the title, the per-character storage caps are tallied on the Steam Community achievements page for the game, which tracks the percentage of players who have unlocked each inventory-tier milestone.
Step 1: Coin Loop
Hunt every respawnable Hunter in the Sunken Mill. Each kill drops 15–25 coins, and the full route (8 enemies) resets when you rest at any bench. A clean 4-minute loop yields roughly 300 coins, which means grinding the full 38,000 coin cost takes about 8.5 hours of pure coin farming — but most players hit the target organically by clearing the post-game zones once, which pays out roughly 12,000 coins in chests alone.
Step 2: Material Loop
Iron Filings drop from breakable mining nodes in Greymoor Thicket (12 nodes total, respawnable) and Bone Shards drop from the small Hunter corpses in Hunter's Reach (5 per loop). A full materials run takes about 12 minutes and yields roughly 20 Filings + 5 Shards, so plan for six to seven loops to stockpile the 120 Filings and 30 Shards required for slots 21–50.
Step 3: Trinket Cleanup
Once your slots and coins are funded, sweep the late-game zones for the trinkets you couldn't carry earlier. The Queen's Atrium alone has 6 trinkets, and 4 of them are in optional side rooms that most players skip on a first playthrough.
For a full list of which abilities unlock which side rooms, our secret passages and area connections guide maps every breakable wall and ability gate in the kingdom — it's the most-cited reference for players planning a single-sweep trinket run.
Trinket Mix-and-Match Strategy
Once your Well Dweller inventory slots are funded, the real game begins: figuring out which combinations actually work. The mix-and-match system lets you stack passives freely, and community testing has surfaced several "hidden" set bonuses that only trigger when you equip a specific cluster of trinkets.
Tier-List Tier Highlights
Not every trinket is worth a slot, and the slot economy in Well Dweller punishes inefficient picks hard — with only 12 base inventory slots before any Workshop upgrades, a single 4-slot commitment like Hunter's Mark consumes a third of your carrying capacity before you even equip a healing passive. Based on player-reported usage rates and the Steam Community's Most-Popular-Trinkets poll (informal, but consistent), the following picks dominate the meta, each chosen because their slot-to-utility ratio outperforms the dozens of niche alternatives that occupy the rest of the trinket roster.
| Trinket | Slot Cost | Effect | Why It Tops Tier Lists |
|---|---|---|---|
| Tin Crown | 3 slots | +25% matchstick damage vs. Hunter enemies | Best boss damage passive |
| Tincture Vial | 2 slots | Heals 1 HP on every 5th enemy kill | Sustained exploration |
| Mended Bell | 3 slots | +15% matchstick burn time | Easier lantern puzzles |
| Quill Fragments | 1 slot | +10% soul currency gain | Faster workshop funding |
| Hunter's Mark | 4 slots | Reveals hidden breakable walls on the map | Best exploration trinket |
The 4-slot cost on Hunter's Mark is steep, but players report it's the single biggest time-saver for a 100% run, because it cuts the number of "where do I go next" detours roughly in half. If you want a full tier ranking with set bonus combos, our best trinket build guide breaks down every viable loadout by playstyle.
Set Bonus Triggers
Community testing has confirmed at least three set bonuses that only trigger when you equip all four trinkets in a themed cluster simultaneously, and each bonus scales directly with how many themed slots you fill across your 50-slot well dweller inventory. Because trinket farming consumes rare spawn windows, most players use a dedicated 12-slot loadout just for set-piece testing before committing to permanent upgrade costs.
-
The Royal Set (Tin Crown + Court Seal + Atrium Key + Queen's Favor) — hidden +50% damage against the final boss.
-
The Workshop Set (Tincture Vial + Anvil Shard + Smith Hammer + Forge Bellows) — 30% discount on all workshop upgrade costs.
-
The Forest Set (Mended Bell + Thicket Bloom + Hollow Acorn + Greymoor Pelt) — passive slow-heal effect in combat.
The Workshop Set alone can save you over 10,000 coins across the full 50-slot grind, since the 30% discount stacks multiplicatively with the Tincture Vial's inherent +5% workshop speed bonus and applies to every anvil upgrade from Tier I through Tier V. For example, a single late-game Smith Hammer Tier IV forge upgrade that normally costs 4,800 coins drops to roughly 3,360, and stacking all four Workshop pieces before you touch the anvil is what lets most completionist players hit the "Well Dweller in the Workshop" achievement without burning their trinket upgrade cost reserve on intermediate tiers.
Frequently Asked Questions
How many Well Dweller inventory slots can I unlock in total?
You can unlock up to 50 slots, which is the maximum tier tracked by the "50 Slots" Steam achievement. Reaching this cap requires roughly 38,000 coins plus materials, and it's also the prerequisite for the "Expert Collector" and "Fully Stocked" achievements.
What is the fastest way to start Well Dweller trinket farming?
The fastest early-game route is to clear the Hub and Sunken Mill zones first, because their 7 combined trinkets require only basic traversal abilities. Most players pick up 4–5 trinkets within the first hour of a fresh save, which is enough to start mixing and matching build passives immediately.
Where is the Workshop, and how do I trigger the In the Workshop achievement?
The Workshop is inside Ilda's Burrow in the Hub area, and you can access it from the start of the game by talking to Ilda and choosing "Upgrade a trinket." Upgrading any trinket from tier 1 to tier 2 (cost: about 150 coins) triggers the In the Workshop achievement instantly.
What is the cheapest way to reach the 50 Slots milestone?
The cheapest path is to focus your early coin income on slot purchases and avoid spending on traversal upgrades until you've hit at least the 20-slot mark. Selling duplicate trinket drops to Ilda also refunds a small amount, which most players overlook but can shave several hundred coins off the grind.
Do rare trinkets cost more to upgrade than common ones?
No — the Well Dweller trinket upgrade cost is identical across rarities. A tier-1-to-tier-2 upgrade costs the same 150 coins whether the trinket is bronze, silver, or gold rarity. Rarer trinkets simply have stronger base effects, not steeper upgrade costs, which means you should always upgrade the passives you actually use rather than hoarding rare picks.