
Bosses
Well Dweller boss guides with fight order, arena tells and phase breakdowns — from the Groundskeeper to the Queen, plus loadouts that shorten every encounter.
Introduction
Nine boss encounters are confirmed for Well Dweller, each tied to a named achievement that doubles as a progress marker: Groundskeeper, the swarm, Lady of the Drains, Shrine of the Seven Sons, Starsinger, Gravedigger, Silver Doll, the Forest King and the Queen. Because the roster is achievement-derived rather than officially listed, we write each guide with that provenance in mind — the fights themselves are verified, while edge-case framing like the Forest King’s “win over’ wording gets flagged for confirmation. What every guide shares: the arena’s visual tell, the phase structure, the safe punish windows and a trinket recommendation sized to the slots you realistically own at that point in the route.
Boss Encounters Quick Reference
| Boss | Arena | Achievement | Core Read |
|---|---|---|---|
| Groundskeeper | Dark Garden | Once Upon a Time | Melee tells, tutorial pace |
| Lady of the Drains | The Drains | Down the Drain | Punish greed between phases |
| Starsinger | Star shrine | Song of the Stars | Rhythm-based patterns |
| Gravedigger | Depths | Dig Deep | Bruiser with tight windows |
| The Queen | Upper castle | The End | Full-flock prep recommended |
Boss Roster
Groundskeeper
Dark Garden keeper — first real check
Lady of the Drains
Drain-puzzle arena that punishes greed
Starsinger
Rhythm patterns tied to Song of the Stars
Gravedigger
Depth-zone bruiser guarding the late route
Silver Doll
Sharp and Shiny mirror-phase duel
The Queen
Final confrontation above the kingdom
the swarm
Buggy Business mass encounter
Forest King
Fancy Feast — win him over, not over him
Core Mechanics
Every Well Dweller boss plugs into the same underlying loop: read the tell, spend the burn window, reset spacing. What differs is the tell’s channel — Groundskeeper telegraphs with body windups, Starsinger with musical meter, the Drains boss with environmental vents, and the Queen by layering all three at once. Achievements anchor the sequence: each fight’s named achievement fires on completion, which is why achievement order and boss order stay interchangeable in our routes. Resource-wise, the matchstick’s burn tick is the universal DPS equalizer — bosses with long downtime between windows (Gravedigger, Queen transitions) actually favor burn stacking, while fast traders (Swarm waves) favor repositioning trinkets. Preparation philosophy is simple: enter with the slots you own, not the slots you wish you owned, because mid-route loadouts are meant to be replaced by the next region anyway.
Advantages
The boss design respects your time. Arenas are legible — each one has a lighting or audio signature that announces phase changes before the animation does, which is a gift for players who read environments instead of health bars. Achievement-per-fight gives you organic save points and route anchors without a checklist open on a second monitor. Burn-based damage windows reward mechanical learning over gear grinding, so a clean pattern beats a padded trinket set every time. And the roster’s mix of duel, wave and social-encounter formats keeps the back third from becoming one fight nine times — by the time you reach the Queen you have been tested on spacing, rhythm, wave management and restraint, which is exactly what a finale should collect.
Challenges & Weaknesses
Honest limits: the roster is achievement-derived, so the ninth entry (Forest King) may not be a combat fight at all and our guide carries an explicit confirmation caveat rather than inventing a phase list. True-ending-linked preparation means a under-built loadout entering the Queen can soft-lock players out of their preferred conclusion without an obvious in-game warning. Some arenas — the narrow Gravedigger floor especially — push camera frustration during adds, and no amount of guide text fixes a blind corner you cannot see. Finally, adjustable difficulty shifts every damage window we describe: calibrate numbers from the fight, not from a screenshot taken on a different setting than yours.
Frequently Asked Questions
What is the recommended boss order?+
Which boss is the hardest?+
Are any bosses missable?+
Quick Tips
Enter every boss room with one burn charge held in reserve — the universal punish window after each phase transition is worth more than twenty seconds of mid-phase chip damage, and players who spend their fire the moment the fight starts consistently run dry exactly when the opening appears suddenly.
Learn the arena’s light, not just the boss’s animation: hedges dimming, vents cycling, candles snuffing and shrine lights brightening all announce phase changes earlier than the boss body does, giving your peripheral vision a full beat of warning to reposition safely before damage lands. Peripheral reads beat reactive reads in every single fight this game ships so far.
If a fight walls you for three straight attempts, drop difficulty, learn the pattern clean, then restore your intended setting — the goal is pattern ownership, not stubbornness, and adjustable difficulty exists so ego never decides how long a well-designed encounter is allowed to waste your evening. The pattern then becomes a dance you lead instead of one you merely survive under pressure.
Featured
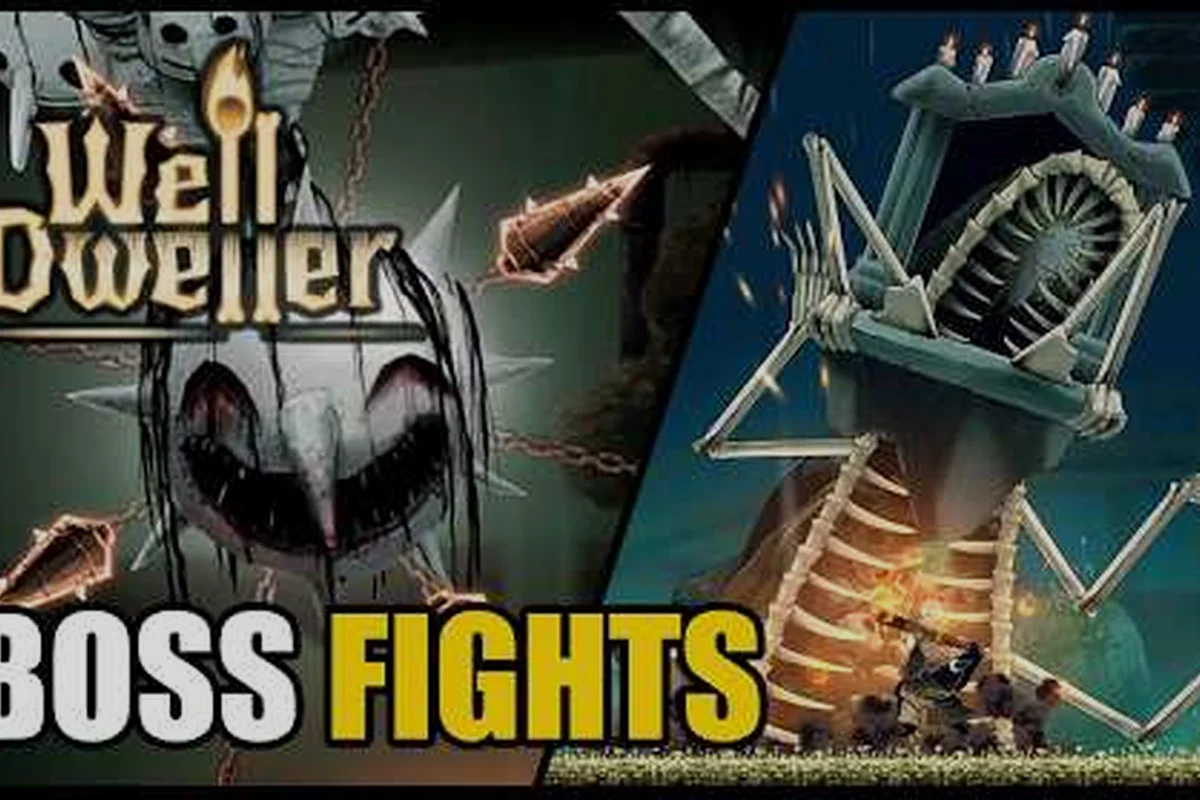
Well Dweller All Bosses: Full Order, Rewards & Tips
See every Well Dweller all bosses encounter in order — Groundskeeper, Lady of the Drains, Starsinger, Forest King, and the Queen — with rewards and quick tips.
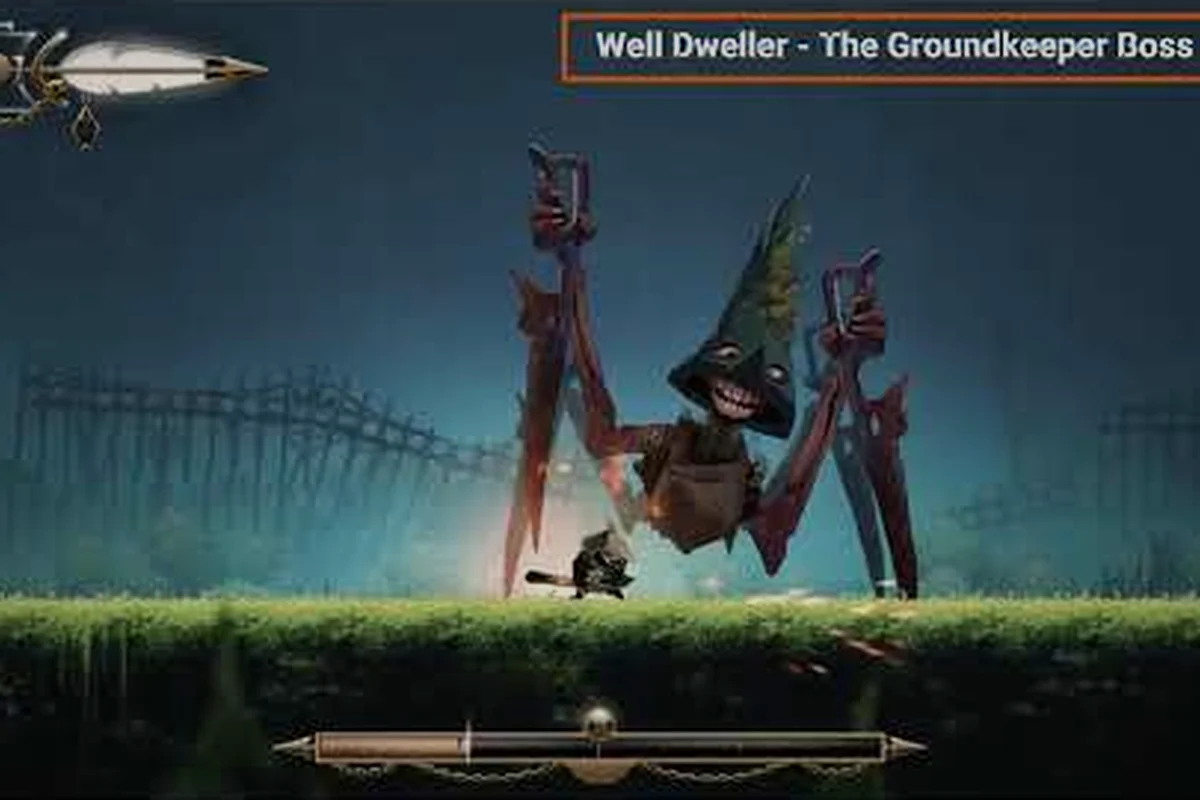
Well Dweller How to Beat Groundskeeper: Dark Garden Guide
Survive Glimmer's first real test with this Well Dweller how to beat Groundskeeper guide — attack windows, matchstick timing, and safe dodging patterns.

Well Dweller Boss Rewards: Drops, Achievements & Unlocks
Track every Well Dweller boss rewards payout — trinkets, story pages, Steam achievements, and secret unlock paths tied to mini-bosses and the Dollmaker.
All Articles

Well Dweller Boss Arena Guide: How to Reach Every Boss
This Well Dweller boss arena guide maps every boss location, traversal unlock, and rematch requirement from Groundskeeper to the Queen in one route.

Well Dweller First Boss: Dark Garden Fight Walkthrough
Start strong with this Well Dweller first boss breakdown — Groundskeeper moveset, best trinket setup, and exactly when to strike in the Dark Garden arena.
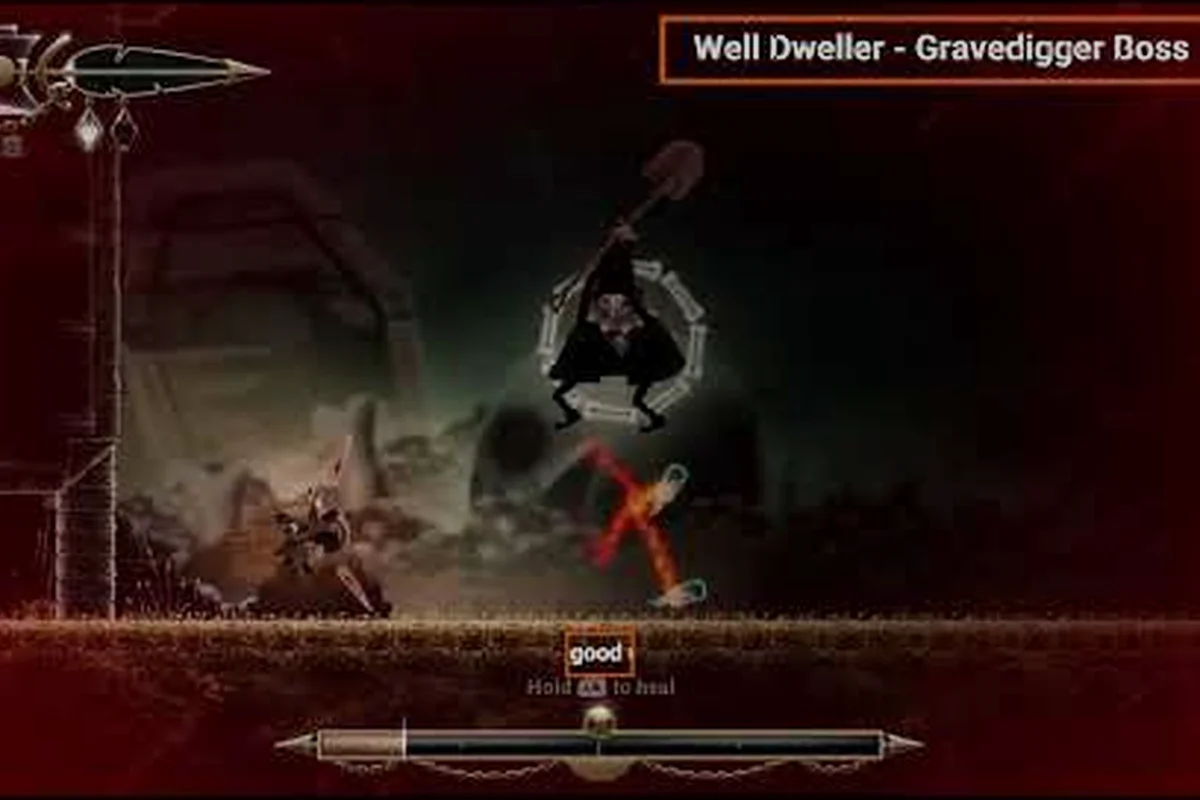
Well Dweller How to Beat Gravedigger & Late-Game Bosses
Break down the Well Dweller how to beat Gravedigger fight, plus Silver Doll, Shrine of the Seven Sons, and Forest King patterns every player needs.

Well Dweller Hunter Fight & Final Boss Strategy
Survive the Well Dweller hunter fight and the Queen finale — learn boss weaknesses, top weapon matchups, and the damage windows that actually close the fight.