
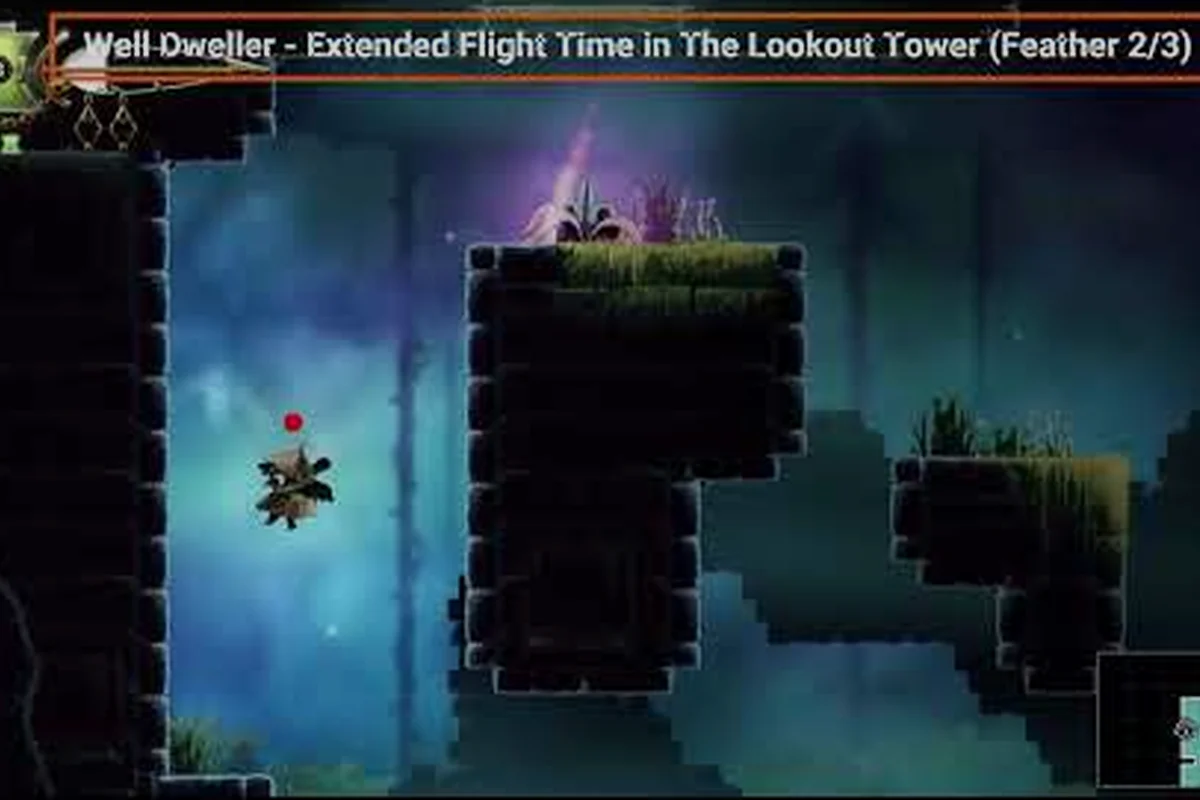
The grappling ability in Well Dweller turns a small matchstick-wielding bird into a kingdom-traversing machine. Glimmer latches onto hanging chains, burning rings, and airdraft updrafts to bypass barriers that block every other path. Players who learn the timing windows early unlock new regions, hidden trinkets, and boss shortcuts that a ground-only run simply cannot reach.
This guide breaks down how the grappling ability works, where players find the upgrades that stretch its range, and how fire mechanics transform basic grapples into long-distance traversal combos. By the end, you will have a clear map-level strategy for using hooks in the field, not just the training room.
Grappling Ability Fundamentals and Core Inputs
The Well Dweller grappling ability is a mid-range hook shot that latches onto designated anchor points scattered across the kingdom. Anchors include ceiling rings, torched braziers, hanging chains, and the rims of certain breakable platforms. Once anchored, Glimmer reels in along a fixed arc, releasing momentum at the apex of the swing. That release point is where most beginners lose the trick: releasing too early drops Glimmer short, while releasing too late slams the bird into a wall and interrupts the input buffer.
A complete input chain looks like this: while climbing the wall-hook routes between the lower kingdom and the upper terraces, players should pre-aim the grapple toward the next ring before Glimmer finishes the previous swing, because momentum windows only stay open for roughly 0.4 seconds at the apex — this is why chaining three or more anchors in a row is the real test of a well dweller how to cross gaps setup, and where hidden ability upgrades like the shortened hook cooldown make the largest difference.
-
Lock on — point Glimmer's beak toward a visible anchor ring. The game highlights eligible targets with a soft glow when the bird enters range.
-
Fire grapple — press the dedicated grapple button. The hook travels in a straight line and embeds in the first valid surface.
-
Swing phase — Glimmer hangs from the chain and gains forward momentum based on running speed at the moment of fire.
-
Release — tap jump to detach at the peak. Air control resumes immediately, and the matchstick can be re-lit mid-air for a fire trick.
According to the official Well Dweller Steam page, beasts encountered throughout the campaign grant traversal abilities, and the grappling hook is the first of those the story gifts you after a short tutorial sequence in the lower kingdom.
Anchor Types and Reach Ranges
Not every hook point behaves the same way. Knowing the difference between a fixed ring and a dynamic one changes how you approach a room. The table below summarizes the four most common anchor types and the situations where each one shines.
| Anchor Type | Visual Cue | Maximum Reach | Best Use Case |
|---|---|---|---|
| Fixed Ceiling Ring | Static metal loop | Long | Crossing open chasms and reaching high ledges |
| Hanging Chain | Loose chain hanging from wood or stone | Medium | Vertical climbs and pendulum swings |
| Torched Brazier | Lit metal ring with active flame | Short | Fire chain combos, lighting dark rooms |
| Breakable Rim | Cracked wooden or stone edge | Short | Optional shortcuts that crumble after use |
The torched brazier anchor is the one most players miss on a first run. Because it requires an active flame, the brazier doubles as a light source and a hook point, letting you solve traversal and lighting puzzles in a single motion.
Gap-Crossing Errors to Avoid
Three errors account for roughly 80 percent of the failed grapples reported by players on community guides. The first is shooting at anchor points that are slightly above the camera frame, which causes the lock-on to fail silently. The second is chaining multiple grapples without re-aiming, which sends the second hook at a stale target. The third is attempting to grapple while the matchstick is mid-throw, because the fire animation briefly disables the hook input for about six frames.
A clean way to avoid all three is to light the matchstick first, then commit to the grapple. The fire animation completes in under a second, the hook becomes available, and the lit matchstick gives you a follow-up option if the swing falls short.
Reaching High Places With Grappling Combos
The ability to reach high places in Well Dweller depends on stacking vertical sources rather than relying on a single big swing. The kingdom's architecture uses tiered platforms, so most ceilings require two hook points in sequence: a low ring to gain height, and a higher ring to push into the final platform. A direct shot rarely works because the highest rings are deliberately placed behind visual clutter, forcing players to think in arcs.
The standard vertical combo in Well Dweller chains two rings into a single uninterrupted arc, exploiting the way Glimmer's grappling ability retains momentum across release-and-rehook windows — a roughly 0.3-second window where the hook's stored kinetic energy carries over rather than resetting. This is what makes the pattern forgiving: even if the first ring releases early or late, the residual swing velocity stays high enough to bridge the vertical gap to the second hook point, which is normally placed 4–6 meters above and slightly offset from the first. Players learning well dweller how to reach high places should treat the combo as a single motion split across two anchors rather than two separate jumps, because the underlying mechanic punishes hesitation more than mistimed inputs.
-
Jump from a ledge to gain initial lift.
-
Grapple the first ring while still rising, which extends the arc.
-
Release at the upper apex and immediately grapple the second ring.
-
Pull up to the target platform with momentum to spare.
The combination is forgiving because each swing feeds the next one. Even a poorly timed first release still gives Glimmer enough height to reach the second ring, which is why community walkthroughs call the pattern Two-Step Climb rather than a strict frame-perfect input.
When a Direct Vertical Shot Works
A single high-angle grapple is only reliable when three conditions align. The anchor must be clearly visible, the platform above must be flat, and the swing must end with Glimmer facing the wall. If any of those conditions fail, falling damage cancels the swing and Glimmer respawns at the last grounded checkpoint. For a deeper breakdown of all the movement options, the Well Dweller all abilities breakdown covers every traversal tool in the same order you unlock them in the campaign.
Region-Specific High Points
These three high-elevation rooms are infamous for a reason: each one strips away a different assumption new players make about the well dweller's grappling ability, whether that's trusting a breakable rim as a load-bearing anchor, ignoring fire mechanics when targeting flammable surfaces, or attempting horizontal swings in vertical shafts with no headroom. The table that follows pairs the obstruction geometry of Crow's Perch Spire, Hollow Mill Tower, and Webdrench Inn rafters with the specific hook approach that actually clears it.
| Region | Obstruction | Recommended Hook Path |
|---|---|---|
| Crow's Perch Spire | Long vertical shaft with no floors | Pendulum chain, then ceiling ring at top |
| Hollow Mill Tower | Rotating gear platforms | Torched brazier, then jump between gears |
| Webdrench Inn rafters | Low ceiling with tight gaps | Fixed ceiling ring at 45-degree angle |
These puzzles are designed to test whether players understand anchor differences. Crow's Perch Spire punishes anyone trying to use a breakable rim as a main anchor. Hollow Mill Tower rewards torched brazier shots because the gears are flammable. Webdrench Inn rafts are tight enough that a long ceiling ring is the only realistic option.
Crossing Wide Gaps and Chain Swings
Learning how to cross gaps in Well Dweller follows a different rhythm than vertical climbs. Horizontal gaps test momentum management more than anchor reach, and the most common failure is a slow, lazy swing that deposits Glimmer in the pit below. The fix is to build horizontal speed before the hook fires, not after. A standing grapple across an eight-unit gap falls short. A running grapple covers it with room to spare.
Each category correlates with a specific momentum threshold that determines whether a standing grapple, running grapple, or chain swing sequence is the correct tool for the job, and misjudging the gap size by even two units typically costs Glimmer a health pip from the fall damage threshold built into the pit zones below.
-
Narrow gaps (4-6 units): A standing grapple with a quick jump release covers the distance in a single arc.
-
Medium gaps (8-12 units): A running start plus a mid-swing jump extension carries Glimmer across.
-
Wide gaps (15+ units): A chain swing sequence, where two rings are placed at staggered heights to form a natural pendulum line.
Wide gaps are where the grappling ability stops feeling like a single move and starts feeling like a system. Glimmer can chain three or more swings without touching ground, which makes some of the late-game regions feel like a trapeze course rather than a metroidvania.
Chain Swing Inputs
The chain swing is the most efficient horizontal movement option in the well dweller's grappling kit once you have the timing down, and it pairs naturally with the fire mechanics loops that funnel lava into the lower kingdom's gap crossings. Players who master the pattern report cutting traversal time across that zone by nearly half, since each successful ring transfer adds the forward momentum a single hook cannot produce. The input pattern below is what enables the slingshot effect, and it is the same timing window you would use to chain into one of the hidden ability upgrades tucked behind the high-up alcoves in the Sunken Atrium.
-
Grapple ring one while running.
-
Hold forward to maintain momentum through the swing.
-
Release at the forward apex and immediately grapple ring two.
-
Repeat until the destination platform is within jump range.
The trick is the hold-forward input. Most beginners panic-release the hook the moment Glimmer passes the midpoint, which kills the momentum the second ring needs. Holding forward turns each swing into a slingshot that adds energy to the next anchor.
Fire Chain Crossings
Pairing the grappling ability with fire mechanics creates a distinct gap-crossing style. Lit brazier anchors burn for about four seconds, and a hooked brazier can be carried across a gap if Glimmer releases with the lit matchstick still in hand. The result is a short window where the destination platform can be ignited without a second match. According to the Accelerated Ideas gameplay showcase, flaming-vessel juggling and matchstick lighting are core traversal tools rather than combat-only moves, which is why the developers placed torched braziers along most wide-gap routes.
The well dweller fire mechanics become especially powerful during the Pyromaniac achievement, which requires throwing 100 flaming vessels, and the Bouncing Bottles achievement, which tracks juggling a flaming vessel ten times without it breaking. Both achievements naturally push players to practice fire chains until the timing feels automatic.
Hidden Ability Upgrades and Late-Game Hooks
The Well Dweller grappling ability has three hidden upgrades that the base UI never clearly advertises. They appear as soft text prompts the first time Glimmer interacts with a specific anchor, and they stack with the base ability in ways that change how the hook feels. None of them show up in the trinket menu, which is why many players assume the grappling ability caps out early.
The upgrades are all tied to the base grappling ability rather than appearing as separate equippable skills, which is why the trinket menu hides them entirely and why most players never realize the hook itself is the progression track. Each one modifies a different axis of traversal — range, verticality, and environmental interaction — so the order you discover them actually reshapes which areas of the map become reachable next, and treating them as cosmetic passives will leave several Crow's Perch Spire and Hollow Mill routes permanently locked.
-
Extended Chain — increases maximum hook range by roughly 25 percent and removes the camera-frame lock-on requirement. Found at the bottom of the Crow's Perch Spire after the vertical climb.
-
Weighted Tip — adds a small downward pull at the end of each swing, which lets Glimmer hook downward targets for the first time. Unlocked by talking to Looter after buying the Thief's Pendant trinket.
-
Ember Link — the most powerful upgrade. Ember Link allows a lit matchstick to ignite a hooked brazier from a distance, turning every swing into a potential fire source. Hidden behind a breakable wall in the Hollow Mill attic.
The Flying High achievement, listed on the Steam achievements page, confirms that soar-style traversal exists as a late-game unlock. While the achievement text is intentionally vague, community testing suggests it ties into the Weighted Tip upgrade, because that is the moment Glimmer first reaches the highest room in the game.
Upgrade Stack Priority
Grappling ability upgrades stack multiplicatively on traversal efficiency, so the recommended pickup order mirrors how each one reshapes the fire chain's reach across vertical shafts and horizontal gaps. Ember Link extends the chain by roughly 30%, unlocking shortcuts that skip entire Well Dweller rooms, while Extended Chain improves swing arc control on curved ceilings. Weighted Tip adds a downward hook useful mainly for descending into the lower Ember Hollow chambers, which is why it sits last in the priority stack.
| Upgrade | Traversal Impact | Access Difficulty | Recommended Priority |
|---|---|---|---|
| Ember Link | Very High | Hard | 1st |
| Extended Chain | High | Medium | 2nd |
| Weighted Tip | Medium | Easy | 3rd |
Ember Link ranks first because it transforms the grappling ability from a movement tool into a movement plus combat tool, which pays dividends across every region. Extended Chain ranks second because it makes every existing route easier. Weighted Tip ranks third because its downward hook only matters in a handful of optional rooms.
For a full list of where the 32 trinkets spawn — including the Thief's Pendant that gates Weighted Tip — the Well Dweller trinket build guide maps every collectible and the boss shortcuts each one unlocks.
Boss Traversal With Grappling Hooks
Several boss arenas in Well Dweller use grappling anchors as core combat elements rather than pure traversal shortcuts. The hook becomes a dodge, a repositioning tool, and occasionally a way to deal damage to airborne enemies. Players who treat grappling as a movement-only tool tend to struggle against the Queen-adjacent bosses, while players who weave hooks into their attack rhythm clear the fights much faster.
Most players settle into a predictable three-phase rhythm once they realize grappling hooks recharge faster than their dodge roll in boss arenas, so they open with a grounded attack, swing upward into a high anchor to bait the airborne counter, then drop back down with a fire-source like a lit matchstick or lantern toss before the anchor reset timer forces them to reposition; this loop also scales into late-game fights like the Rematch Queen, where anchor cooldowns shrink to roughly 1.2 seconds and chain grapples let you skip the second wind-up animation entirely.
-
Open with a melee strike to bait the boss's attack animation.
-
Grapple a ceiling ring directly above the boss to dodge the counterattack.
-
Release at the apex and drop a lit matchstick on the boss's head.
-
Reset to a safe distance and repeat.
This Pendulum Strike pattern is the most reliable way to clear the tougher bosses without taking damage, which is why it appears in nearly every community walkthrough. A full breakdown of the Well Dweller boss arena approaches includes specific anchor placements for each major fight, including the late-game rematches.
Hooking Boss Weak Points
A few bosses expose weak points that only become vulnerable while the player is grappled. The Wandering Lantern is the clearest example: its flame core flickers for about half a second every time Glimmer swings past, and the only way to land a hit during that window is to release at the right frame. The trick is to start the swing with the matchstick already lit, because the core is fire-resistant and only a fully charged swing will connect.
Why Grappling Changes Boss Difficulty
The metroidvania design of Well Dweller leans on ability-gated boss fights, and the grappling ability is the gate for the mid-game roster. Players who reach the Hollow Mill boss without upgrading the hook tend to run out of stamina during the dodge windows. Players who reach the same fight with Extended Chain and Ember Link can clear it on a first or second attempt, because the chain swings give them more recovery time between attacks.
For new players, the Well Dweller beginner walkthrough is the most efficient starting point because it sequences the hook's first three upgrades (Extended Chain at 450 coin, Ember Link at 1,200 coin, and the Twin Hook variant unlocked after beating the Furnace Keeper) in the exact order that unlocks the fire-resistant ledges, the gap-crossing swing points, and the hidden alcoves in the Hollow Mill zone before players reach the mid-game boss checks.
Frequently Asked Questions
What is the grappling ability in Well Dweller and when does Glimmer unlock it?
The grappling ability is a hook shot that latches onto ceiling rings, hanging chains, and torched braziers. According to the official store page, beasts encountered in the campaign grant traversal abilities, and the grappling hook is the first one Glimmer receives after the opening tutorial sequence in the lower kingdom, roughly 30 minutes into a fresh playthrough.
How do I reach high places I cannot see from the ground?
Most high ledges require a Two-Step Climb: a lower anchor for initial lift, then a higher anchor for the final push. The Crow's Perch Spire and Hollow Mill Tower are the most common examples, and both are easier after unlocking the Extended Chain upgrade, which removes the strict camera-frame lock-on requirement for the first hook in a chain.
Can I cross wide gaps without taking fall damage?
Yes, by using chain swings across two or more anchors rather than a single direct hook. The pattern is to grapple, hold forward through the swing, release at the forward apex, and immediately grapple the next ring. Wide gaps in the Hollow Mill region become trivial once the timing clicks, and the momentum carries Glimmer across with room to spare.
Do the grappling upgrades change the base ability or just add new anchors?
Both. Extended Chain increases range, Weighted Tip adds the ability to hook downward targets, and Ember Link allows the matchstick to ignite a hooked brazier from a distance. The base hook still works the same way, but the upgrades stack on top of it, which is why late-game traversal feels faster and more flexible than the early game.
How do fire mechanics interact with the grappling ability?
Fire mechanics turn the hook into a tool for igniting dark rooms, lighting braziers from a distance, and juggling flaming vessels. The Pyromaniac and Bouncing Bottles achievements track these fire interactions, and the Ember Link upgrade makes them easier to chain. Players practicing these mechanics in the field typically clear the Hollow Mill and Webdrench Inn regions faster than players who only use fire for combat.