
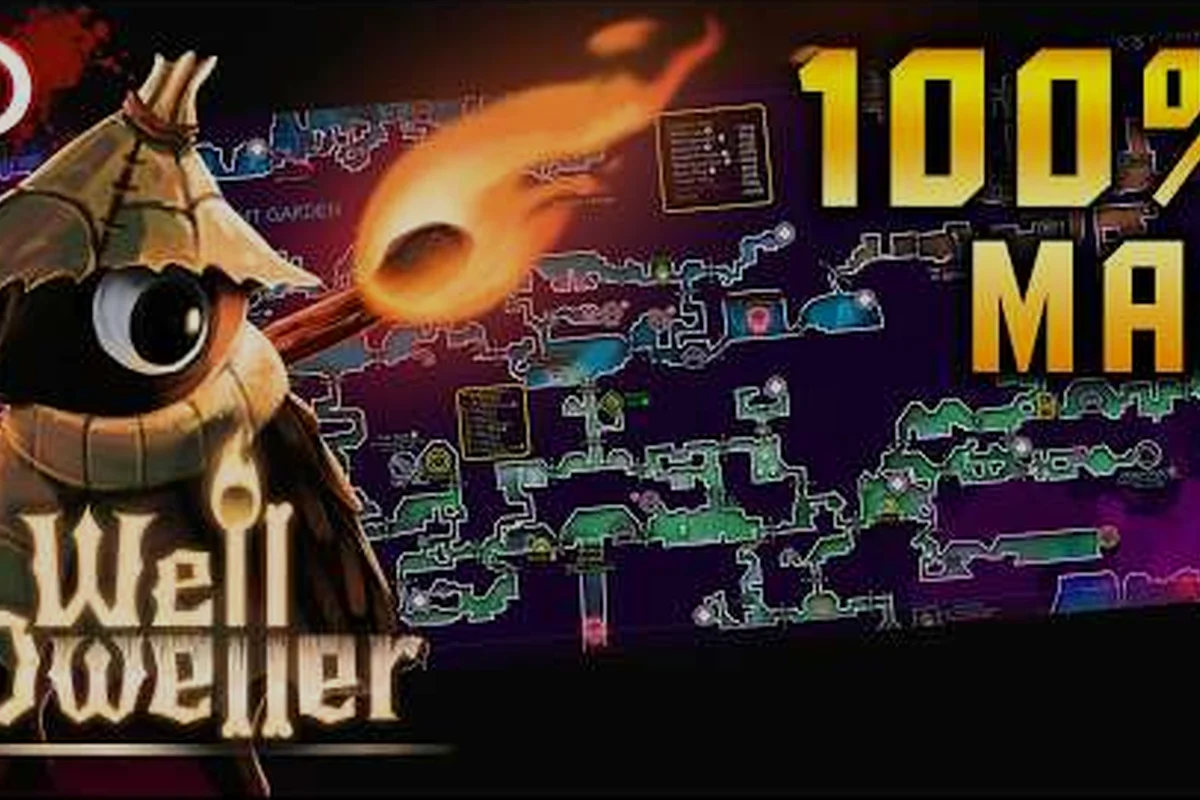
Every ability in Glimmer's kit is earned by talking to a boss, surviving a milestone, or completing a quest — nothing is purchased from a shop. This Well Dweller all abilities guide walks through the complete roster of traversal and combat moves, ties each one to the encounter that grants it, and explains how the abilities layer together to open new routes through the decaying kingdom. If you have ever stared at a flooded corridor, a cracked wall, or a platform set just a little too high and wondered which move you were missing, the answer is almost certainly in the ability list below. According to the official Well Dweller Steam page, Glimmer plays as a tiny bird with a matchstick that fuels both combat and traversal, and beasts across the map grant the upgrades that define the late game.
The Full Well Dweller Ability Roster at a Glance
The Well Dweller ability list is shorter than most metroidvanias because each ability is designed to do one job cleanly, then layer with trinkets. Before diving into individual moves, it helps to see the entire roster side by side, including the rough moment in the run when you normally pick each one up. The table below is the single most useful reference for planning a route, and every entry is discussed in detail further down.
| Ability | Type | Roughly Unlocked | Primary Use |
|---|---|---|---|
| Match Strike | Basic | Prologue (default) | Lights torches, ignites enemies, starts the run |
| Flaming Vessel | Combat / Traversal | First beast encounter | Throwable firebomb, burns breakable walls and foes |
| Water Vessel | Traversal | "Into the Deep" milestone | Splashes through flooded rooms and quenches flames |
| Grapple | Traversal | Mid-game boss | Reaches high ledges and pulls Glimmer across gaps |
| Soar | Traversal | "Flying High" milestone | Sustained flight after a ground-launch wind-up |
| Dash | Traversal | Hidden mini-boss | Short burst to cross spikes and breakable floors |
| Webdrench Escape | Story | Inn sequence | Cuts the chase, no permanent upgrade |
If you already know which ability you need, jump to the matching section below. If you are starting a fresh save, read in order so you understand which doors each ability opens and which boss you should be hunting next.
How Abilities Differ From Trinkets
Trinkets are the 32 collectible items you slot into Glimmer's belt, and they modify stats like damage, casting distance, or trinket slots themselves. Abilities, by contrast, are permanent moves that the comprehensive abilities breakdown covers in full — they are never optional, and every ability in the table above is required to reach 100% completion. If you have a slot in your belt but not a new move, you are at a trinket moment, not an ability moment.
Match Strike and Flaming Vessel: Your First Two Tools
The run begins with the matchstick already in Glimmer's hand. Match Strike is the most basic ability and is the foundation of every fight and traversal puzzle in the first hour. It costs nothing, lights torches in a short arc, and serves as the default attack for the early game. Once you ignite a torch or a foe, the flame can chain into the first real ability: the Flaming Vessel.
What the Flaming Vessel Does
The Flaming Vessel is a throwable firebomb that doubles as a traversal key. In combat, a well-placed vessel can melt shielded beetles, light braziers at range, and chain into the Pyromaniac achievement after one hundred throws. In exploration, it breaks the cracked walls that block optional rooms, which is why the deep dive into burning enemies and vessel juggling is the natural companion read for this section. The juggle technique is a small skill that turns the vessel into a mid-air projectile: tap throw, then catch, then throw again, which is also the basis of the Bouncing Bottles achievement after ten clean catches.
Flaming Vessel Quick Reference
| Use Case | Tip | Achievement Tie-In |
|---|---|---|
| Combat throw | Aim slightly above ground-hugging beetles for splash | Pyromaniac (100 throws) |
| Wall breaker | Hold throw to charge, then release at cracked surface | Opens hidden rooms |
| Juggling | Tap throw, walk under, catch, repeat | Bouncing Bottles (10 juggles) |
| Torch relay | Throw onto an unlit torch to daisy-chain lights | A Warm Fire (camp with Ilda) |
Community reports from the launch window suggest the juggle window is roughly half a second, so it rewards players who start the motion early and trust the catch. The vessel breaks on impact with hard floors after enough bounces, so saving one for a future fight is rarely a good idea.
Water Vessel: Crossing the Flooded Corridors
The Water Vessel is the second traversal ability and the first one that really changes the map. It is granted during the "Into the Deep" milestone, which corresponds to the first time you reach the submerged lower levels of the kingdom. The vessel itself is a small jug of water that Glimmer can throw or splash across a flooded surface; on impact, it either quenches flames blocking a path or creates a brief, walkable shelf of calmer water.
Why the Water Vessel Matters
A surprising number of late-game rooms are gated by flame barriers that only water can douse, and several optional trinkets sit behind flooded corridors that Glimmer cannot simply wade through. The water vessel solves both problems. The table below summarizes the three interactions the community has mapped so far, all of which are referenced in the launch-week Steam Community achievement page.
| Surface | Water Vessel Effect | Common Location |
|---|---|---|
| Flame barrier | Douses flames, opens path | Lower Keep, near the first deep boss |
| Flooded floor | Creates brief walkable patch | Drowned Library, optional trinket room |
| Smoldering enemy | Stuns and damages | Beetle-heavy side rooms |
Players who skip the water vessel often report returning to previous areas and feeling stuck, which is why milestone-based ability gates are so common in this game. Once you have the vessel, take fifteen minutes to backtrack through every hub room; you will almost certainly find at least one new door.
Grapple: Reaching the High Country
Grapple is the mid-game traversal ability that finally gives Glimmer vertical range. It is earned by defeating the beast that dwells in the upper scaffolding of the kingdom, and the fight itself teaches the timing the move requires: short wind-up, long release, and a brief moment of hang-time at the apex. The grapple itself is a short silk thread that anchors to glowing rings, pulls Glimmer upward, and can chain into a second ring for a small swing.
Where the Grapple Opens New Routes
The grapple is the key to roughly a third of the optional map, including the upper rafters of the Webdrench Inn, the towers above the spa, and the high ledges of the Hunter's lodge. It also pairs with the Soar ability, because most grapple points sit just out of normal jump range. The interaction is intentional: every late-game route expects you to grapple, briefly hover, and release into a flight path.
| Grapple Target | Best Follow-Up | What You Unlock |
|---|---|---|
| Glowing ring | Soar after release | Upper rafters, optional trinkets |
| Wooden beam | Dash across | Spike rooms, side chests |
| Boss arena ring | Drop and attack | Mid-game boss access |
If you are stuck on a room that looks impossible to reach, the answer is almost always grapple plus one other move. Almost no platform in the late game expects only a single ability to solve it.
Soar: The "Flying High" Ability
Soar is the single most-anticipated ability in the entire run, and the Flying High achievement marks the moment the map finally opens up. Soar is granted by the beast that teaches Glimmer to ride an updraft, and the move itself is a sustained glide that starts with a short wing-flutter and then locks Glimmer into a slow descent along a chosen horizontal direction.
How Soar Works in Practice
Soar is not true flight; you cannot gain altitude, only redirect a falling trajectory. The wind-up takes about one second, which is enough time to dodge but not enough to plan a complex route in mid-air. The table below summarizes the inputs the community has settled on after the first weekend of play, all of which are confirmed in the Accelerated Ideas gameplay showcase on YouTube.
| Input | Effect | Best For |
|---|---|---|
| Jump + hold up | Triggers wind-up flutter | Long horizontal glides |
| Direction + jump | Tilts glide path | Reaching side rooms |
| Cancel with dash | Cuts glide early | Tight platforming |
| Land on updraft | Resets to a small hover | Layered vertical rooms |
The single biggest mistake new players make with Soar is trying to use it as an emergency escape in tight rooms. Soar needs horizontal space to be useful; in a tight vertical shaft, a Dash plus a wall jump is almost always safer.
Dash: Speed, Spike Rooms, and Breakable Floors
Dash is the short-burst movement ability that fills the gap between walking and Soaring. It is unlocked by defeating a hidden mini-boss in the lower levels, which is why many players miss it on a first run. The move itself is a one-second blur in the direction you are holding, with brief invincibility at the start that makes it useful as a panic button against the Queen's hunters.
The Three Jobs Dash Does
| Job | How Dash Solves It | Where You First See It |
|---|---|---|
| Spike crossing | Burst over spike traps in one motion | Lower Keep, near the first submerged room |
| Breakable floor | Slam through thin floors to skip a room | Optional paths, mostly in late areas |
| Dodge | I-frames for the first half of the dash | Combat against shield beetles |
Dash is also the cancel button for Soar, which is a small but important interaction. If you start a glide and realize the path is wrong, dash to cut the glide early and recover into a normal jump.
Story-Gated Moves and Missable Moments
Not every "ability" in the run is a permanent traversal upgrade. A few of the moves in the launch achievement list are tied to specific story beats, and missing the right moment locks you out of the related achievement until a second playthrough.
| Move | Trigger | Permanent? | Achievement |
|---|---|---|---|
| Webdrench Escape | Inn chase sequence | No (story) | Late Night Guest |
| Hide and Seek | Queen encounter in the throne hall | No (story) | Hide and Seek |
| Ilda's Camp Fire | Story choice after a boss | No (story) | A Warm Fire |
| Spa Visit | Optional hub interaction | No (story) | Taking a Break |
These are not combat or traversal abilities in the strict sense, but they are listed in the Well Dweller ability list on the official achievements page and are easy to miss. If you care about completion, take the side rooms before each major boss.
Planning Your Run: A Suggested Ability Order
A first-time player usually unlocks the abilities in roughly the order below. This is not a forced sequence — the game is open enough to backtrack once you have a move — but it matches the path most launch-week players took, and the interactive community map by GG uses the same general flow.
| Step | Milestone | Ability Gained | Map State |
|---|---|---|---|
| 1 | Prologue | Match Strike | Tutorial only |
| 2 | First beast | Flaming Vessel | Upper Keep unlocked |
| 3 | "Into the Deep" | Water Vessel | Lower levels accessible |
| 4 | Upper scaffolding boss | Grapple | Vertical routes open |
| 5 | Hidden mini-boss | Dash | Spike rooms solved |
| 6 | "Flying High" beast | Soar | Full map open |
| 7 | Final story moves | — | Endgame content |
Each step tends to take between 30 minutes and an hour on a first run, and the Soar step in particular is where the optional trinket hunt really begins to pay off. The trinket slot upgrade guide is a useful companion once you can reach the high rooms that hold most late-game collectibles.
When to Backtrack
Every ability you unlock retroactively opens roughly 5–10% of the map, so backtracking after each new move is essential. The community-run GabeAndTheGoat 100% walkthrough organizes its timestamps around the same ability order, which makes it easy to scrub to the moment you just earned a move and see which rooms become newly reachable.
Frequently Asked Questions
What is the full Well Dweller ability list?
The full set of permanent abilities is Match Strike, Flaming Vessel, Water Vessel, Grapple, Soar, and Dash. The Well Dweller all abilities roster also includes a few story-only moves like the Webdrench Escape, but only the six permanent abilities are required to explore the entire map and reach 100% completion.
How do I unlock the Flaming Vessel in Well Dweller?
You unlock the Flaming Vessel by defeating the first beast encounter in the Upper Keep. After the fight, Glimmer picks up the vessel automatically, and it becomes both a combat throw and a tool for breaking cracked walls, which is the basis of the Pyromaniac and Bouncing Bottles achievements.
How do I get the Water Vessel?
The Water Vessel is granted during the "Into the Deep" milestone, which is the first time you reach the submerged lower levels. After the cutscene, return to previously flooded rooms; the vessel will douse flame barriers and create brief walkable patches across deep water.
How do I unlock Soar and the Flying High ability?
The Flying High ability is earned by defeating the beast that lives in the wind-tunnel chamber above the Upper Keep. The post-fight cutscene teaches the wind-up flutter, and the achievement pops the moment you trigger your first real glide across an open room.
Do I need every ability to finish the game?
You need every permanent ability to reach 100%, but you can technically reach the final boss with just Match Strike, Flaming Vessel, and one traversal move of your choice. The remaining abilities are all about opening optional rooms, optional trinkets, and the related achievements rather than blocking the main story.