
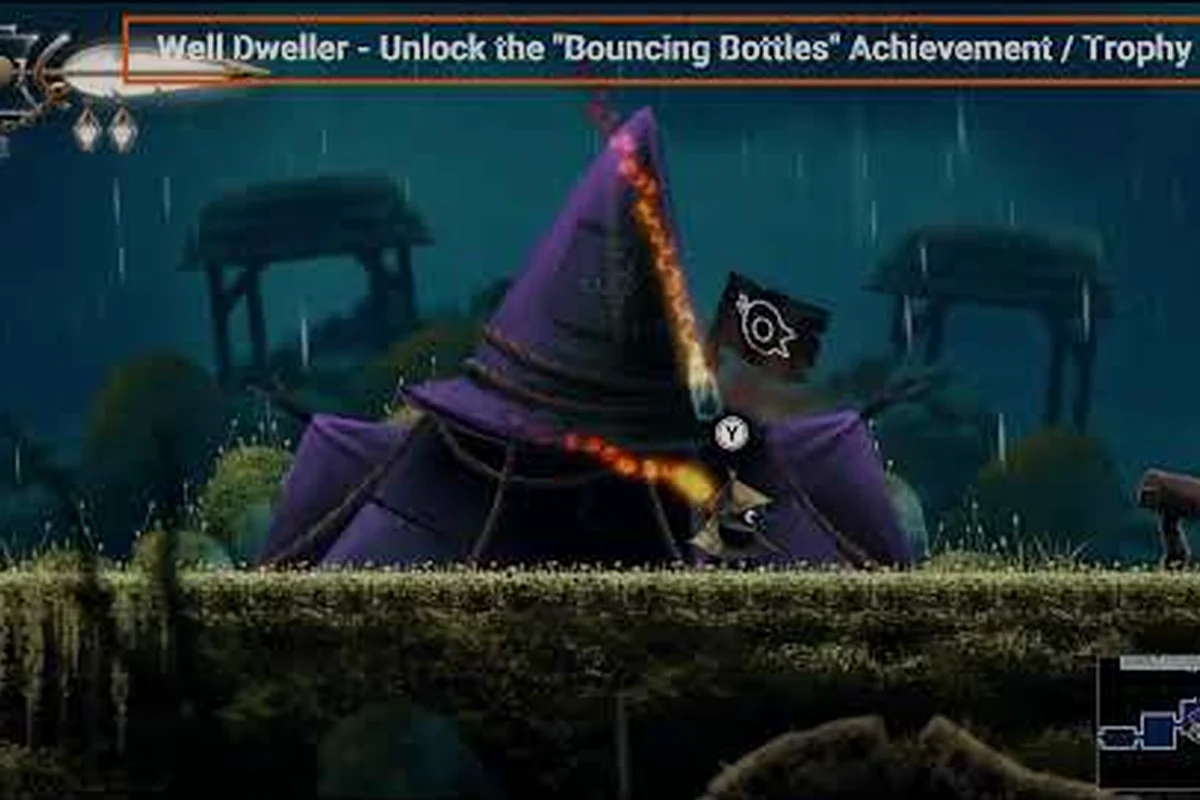
The Well Dweller Fully Stocked achievement is one of those quiet goals most players stumble into by accident and then spend the rest of the run trying to understand. It groups together three side objectives that reward you for spending time in the kingdom's peaceful corners rather than slashing through every enemy on screen. Hobby Collector, Taking a Break, and Bouncing Bottles each measure a different kind of downtime activity, and pulling all three into a single run is the cleanest path to that final pop. Knowing the thresholds, the visit counts, and where the bottle-juggling trick actually lives turns the achievement from a vague late-game chore into a checklist you can complete in the same playthrough as the main story.
What the Fully Stocked Achievement Actually Tracks
The Fully Stocked achievement is a meta-flag that fires only after three sub-conditions have all been satisfied. The Steam achievement list groups it with the rest of the 41 Well Dweller Steam achievements, but the popup itself only appears when the third supporting flag lands, which is why so many players think the game has "skipped" the trigger. The three component flags are Hobby Collector, Taking a Break, and Bouncing Bottles, and each one tracks a different aspect of how Glimmer spends her off-duty hours.
| Sub-Achievement | What It Tracks | Trigger Location | Approx. Trigger Time |
|---|---|---|---|
| Hobby Collector | Picking up the very first trinket | Anywhere a trinket spawns | First 30 minutes |
| Taking a Break | Sitting at the Ilda camp until prompted | Ilda's camp after meeting her | ~1–2 hours in |
| Bouncing Bottles | Performing the vessel-juggling chain without dropping | Workshop after unlocking the throw | ~4–6 hours in |
Hobby Collector is essentially free — the game hands you a trinket very early, and the flag fires the moment Glimmer picks it up. The interesting part of the Well Dweller Fully Stocked achievement is that the other two are about what you do when no combat is forcing you forward. Players who rush the bosses often find the meta-flag waiting on the last 1–2 percent of the achievement list, which can be confusing if the Steam client hides the supporting flags.
Why All Three Flags Are Quietly Linked
The three flags share a design theme: they all measure player behavior outside of combat encounters. Hobby Collector asks whether you pick up the build layer at all, Taking a Break asks whether you stop to rest at the camp, and Bouncing Bottles asks whether you have fun with the throw mechanic. The Fully Stocked achievement, in other words, rewards completionists who actually engage with the world rather than treating it as a boss-rush corridor.
Hobby Collector: The First Trinket Pickup
Hobby Collector is the entry-level flag inside the Well Dweller Fully Stocked achievement bundle, and it pops the first time Glimmer touches a trinket. The trinket system runs on a 32-piece collection with slot upgrades, so your first pickup is just the tip of a much longer iceberg, but the flag itself fires instantly. The trinket economy itself is detailed in our Well Dweller trinket effects breakdown, but for the achievement you only need one pickup.
| Pickup Phase | Trinket Source | Approx. Visit Count |
|---|---|---|
| Pre-Groundskeeper | Drop from a Dark Garden enemy | 1 |
| Pre-Groundskeeper | Resting on a Workshop ledge | 1 |
| Post-Groundskeeper | Ilda gift sequence | 1 |
| Mid-run shop | Purchased from Looter | 1 |
The pickup doesn't require a specific region or boss state, which is why most players receive the flag in the first half hour without realizing it. The only common missable is the first trinket that sits on the ground in the Workshop alcove — players who dash past the Workshop on the way to the Dark Garden often miss the spawn and have to loop back. After that first pickup, the flag stays permanent, so the Hobby Collector piece of the Fully Stocked achievement essentially handles itself.
Why This Flag Is the Easiest of the Three
The Hobby Collector threshold is 1 trinket, which is the lowest of the meta-achievement's three triggers. There is no requirement to equip the trinket, no visit-count gate, and no platform-specific timing — the only failure condition is to walk past the very first pickup. Once it lands, the flag is locked for the save file.
Taking a Break: Resting at Ilda's Camp
The Well Dweller Taking a Break achievement is the second piece of the Fully Stocked trio, and it triggers when Glimmer sits down at Ilda's camp and waits through the full rest sequence. The visit-count threshold is exactly 1 camp visit, but the game requires Glimmer to remain at the campfire for a short dialogue exchange rather than passing through. Players who tap the interaction button and immediately leave won't see the flag.
| Rest Phase | Required Action | Common Mistake |
|---|---|---|
| Approach | Walk into Ilda's camp radius | Skipping the camp during the Ilda intro |
| Sit | Press the interaction input | Pressing through the dialogue too fast |
| Wait | Stay seated through the full exchange | Leaving the radius mid-line |
| Rise | Glimmer stands on her own | Closing the menu before the rise animation |
The camp unlocks after Glimmer rescues Ilda from the early-game encounter, which typically happens within the first hour. Once the camp is available, the Well Dweller Taking a Break achievement can technically fire the same session, although many players finish the Ilda quest line without ever stopping, then loop back later. The flag is independent of story progression, so you can pick any act to trigger it, and the visit count resets only if the save file is wiped.
A Clean Trigger Sequence
The cleanest way to land Taking a Break is to approach the campfire the first time Ilda invites you to rest, then let the camera linger through the full exchange. The flag usually pops the moment Glimmer's dialogue wheel closes, and the Steam client will then mark the icon as completed in the achievement overlay. Players who skip past Ilda's camp for the early boss runs almost always need to backtrack to this flag later.
Bouncing Bottles: The Vessel-Juggling Trick
The Well Dweller Bouncing Bottles achievement is the most skill-intensive of the three flags and the one most completionist guides rate as the toughest to time. It requires Glimmer to juggle a thrown vessel between two surfaces without letting it touch the ground, which is essentially a reflex mini-game layered on top of the standard throw-and-recall combat loop. The juggling chain lives in the Workshop after the vessel-throw ability is unlocked, and players can practice it any time they want without spending resources.
| Juggling Phase | Required Input | Failure Condition |
|---|---|---|
| Throw | Aim vessel at floor or wall | Aiming into open air |
| Recoil | Call vessel back mid-bounce | Catching the vessel flat-handed |
| Bounce | Let vessel hit the surface | Letting the vessel touch the ground |
| Chain | Repeat 3 times | A single ground touch resets the chain |
The visit count for the Well Dweller Bouncing Bottles achievement is 1 successful chain, but the timing window between bounces is tight. Community testing suggests the window opens the moment the vessel makes contact with a surface and closes the instant it falls below a certain altitude, which means the trick is easiest on flat stone floors and hardest over grass. Players who spam the recall input usually fail the chain because they catch the vessel before the second bounce registers.
How the Vessel Juggling Chain Feels in Practice
When the chain is clean, the vessel feels almost magnetic, snapping from floor to hand to wall to floor without any visible drop in momentum. The first bounce is the easiest because the throw is fresh; the second bounce requires Glimmer to call the vessel back at the right moment; the third bounce is the hardest because the vessel is moving fastest and any over-correction drops it. The achievement typically pops on the third successful bounce, although the underlying feat-tracking variable is the count of consecutive bounces without a reset, and the Steam achievement fires when that count reaches the design threshold.
For a more detailed breakdown of the trick, our guide on the Well Dweller vessel-juggling feat and bouncing bottles strategy walks through the input timing frame by frame. The Bouncing Bottles chain is also the only one of the three flags that can be re-attempted instantly without leaving the area, so it pairs well with a Workshop loop when you're farming other trinket-related goals.
Putting the Three Flags Together in One Run
The fastest way to land the Well Dweller Fully Stocked achievement is to treat the three supporting flags as part of a single visit-count tour through the kingdom's safe zones. Most players complete Hobby Collector and Taking a Break passively during the natural story flow, then finish Bouncing Bottles during a Workshop break before the late-game push. The table below is a typical order-of-operations that completionist runners report working in a single save file.
| Run Stage | Region | Flag to Chase | Typical Visit Count |
|---|---|---|---|
| First 30 min | Dark Garden | Hobby Collector (first trinket) | 1 pickup |
| First 2 hr | Ilda's camp | Taking a Break (campfire rest) | 1 visit |
| Mid-run | Workshop | Bouncing Bottles (juggle chain) | 1 successful chain |
| Optional | Any | Re-verify flags in Steam overlay | 0 |
The visit count for the Fully Stocked achievement is effectively 1 per supporting flag, which means the meta-achievement is reachable without grinding. According to the official Well Dweller on Steam page, the game ships with 41 total achievements, and Fully Stocked sits in the "easy" tier when the three sub-flags are pursued in order. Players who wait until post-game to chase Bouncing Bottles often find the visit count irrelevant because the juggle timing remains the same regardless of how far the story has progressed.
Why the Order Matters
Doing Hobby Collector first means the trinket system is on your radar before the first boss, which is useful because slot upgrades stack from the first pickup. Doing Taking a Break second ensures the camp flag fires before any optional region locks, and doing Bouncing Bottles last means the vessel throw ability is fully leveled when you start practicing the chain. Reordering the three flags rarely changes the outcome, but the suggested order avoids the two most common missables: missing the first trinket and skipping the Ilda campfire.
Common Pitfalls and How to Recover
Even with the right order, players still hit edge cases when chasing the Well Dweller Fully Stocked achievement. The most common pitfall is the visit-count for the Ilda campfire resetting if Glimmer dies during the rest sequence, which is a rare but documented edge case. The second most common is the Bouncing Bottles chain failing on a grass surface, where the bounce physics differ from stone.
| Pitfall | Cause | Recovery |
|---|---|---|
| Hobby Collector doesn't fire | Walked past the first trinket | Return to the Workshop ledge |
| Taking a Break skipped | Closed the dialogue too fast | Re-enter Ilda's camp radius |
| Bouncing Bottles won't chain | Recall timing is off | Practice on flat stone floors |
| Fully Stocked doesn't pop | One of the sub-flags is missing | Check Steam overlay for which icon is still empty |
A quick Steam-overlay check is the fastest way to diagnose a stalled Fully Stocked flag, because the supporting flags show up individually. If all three icons are filled but the meta-achievement still hasn't popped, the cause is almost always a soft state that resolves when the save file syncs through Steam Cloud. According to community testing reported on the 100% walkthrough Steam guide, the meta-flag can take a few minutes to register after the third sub-flag lands, so don't assume a hard miss if the icon is still grey immediately after the chain.
The Steam Overlay Trick for Impatient Players
Open the achievement overlay mid-run and watch the three icons after each trigger. The moment all three are filled, the Fully Stocked icon will catch up shortly. If the meta-achievement is the only one missing after the Bouncing Bottles chain, it almost always means the Steam client is waiting for the next sync interval. For a broader perspective on how the Well Dweller Fully Stocked achievement fits into the rest of the list, our Well Dweller easiest achievements roadmap ranks the three sub-flags alongside other beginner-friendly pops.
Useful Timestamps and Run Planning
For runners who like to plan achievement hunts by the minute, the Well Dweller achievement timestamps for these three flags are relatively predictable once you've seen the route once. The table below summarizes the timing in a typical first playthrough, with all times measured from a clean save file. The numbers are based on community data and may vary slightly by playstyle, but the relative spacing is consistent across runners.
| Flag | Typical Timestamp | Variance Range | Visit Count Needed |
|---|---|---|---|
| Hobby Collector | 15–30 min | ±15 min | 1 |
| Taking a Break | 60–90 min | ±20 min | 1 |
| Bouncing Bottles | 4–6 hr | ±1 hr | 1 successful chain |
| Fully Stocked (meta) | Immediately after Bouncing Bottles | 0–5 min sync delay | n/a |
These Well Dweller achievement timestamps assume a single playthrough with no major backtracking; players who skip Ilda's intro or dash past the Workshop will see Hobby Collector and Taking a Break shift later into the run. The Bouncing Bottles flag is the only one that depends on a non-trivial skill check, so it tends to land later regardless of route. The full sweep — including the meta-flag — usually completes inside a single act of a normal run.
When to Farm vs. When to Move On
If the Bouncing Bottles chain is failing after three or four attempts, the cleanest move is to leave the Workshop and progress the story, then return later with more practice and a different loadout. The visit count for the chain itself doesn't tick up with attempts — only a successful chain counts — so the real goal is to land one clean chain at any point in the run. Most players report a 70–80 percent success rate on the chain once they've watched a single video reference and practiced on flat stone.
Frequently Asked Questions
What does the Well Dweller Fully Stocked achievement actually unlock?
The Well Dweller Fully Stocked achievement is a meta-flag that tracks three side activities: Hobby Collector, Taking a Break, and Bouncing Bottles. It does not grant any in-game item, but it contributes to your overall completion percentage and is required for the 100% achievement run. The Steam overlay treats it as a single icon that fills only when the three supporting icons are all lit.
Why is my Bouncing Bottles achievement not popping?
The Well Dweller Bouncing Bottles achievement is the most timing-sensitive of the three flags. The vessel must bounce at least three times without touching the ground, and a single ground touch resets the chain. Players usually fail because the recall input fires too early, which catches the vessel mid-flight. Practice on a flat stone floor and time the recall to land just before the second bounce.
Can the Fully Stocked achievement be missed in a single playthrough?
No, the Well Dweller Fully Stocked achievement cannot be missed in a single playthrough. The three sub-flags remain triggerable in any act and in any region, and the Ilda camp stays accessible after the rescue sequence. As long as the save file persists, you can return to the Workshop or the campfire at any time to fire the missing flags. The meta-icon will then catch up the next time Steam syncs the achievement state.
Do these achievements carry over to New Game+?
Yes, the supporting flags and the meta-achievement are tied to the save file's state, not the playthrough counter. Players starting New Game+ with a save that already has the Well Dweller Fully Stocked achievement will see all four icons already filled in the overlay, and the meta-flag will not re-fire because the game remembers the prior trigger. If you want to re-pop the achievement for streaming or video purposes, a fresh save file is required.
Where can I find a full list of all 41 Well Dweller Steam achievements?
The official list of all 41 Well Dweller Steam achievements is available on the Steam Community stats page, which shows both the achievement names and the global unlock percentages. For a beginner-friendly roadmap that ranks the easiest pops first, our Well Dweller easiest achievements guide breaks down which icons to chase in the first three hours and which to leave for the late-game cleanup.